Sunday, September 23, 2012

Golf Cake

I did this cake a few months ago, and it was for Oliver's (my boyfriend) brother's boss at work.  The cake was actually baked by Oliver's mom, and I did the decorating.


I'm not excellent at making figurines or making cakes, but I think I'm not too shabby; I could use some polishing though.  I guess practise makes perfect, eh?

At the moment, I think I am more comfortable at making edible figurines and working with fondant or gumpaste; two days ago, I got to work with Fimo polymer clay and it's not something I'm used to, but I would definitely love to practiswe with it because unlike fondant, you can actually bake the figurine you created and keep it.  


This was my first try at making this type of figurine because I usually make cartoon characters like Mario, Yoshi, etc.  When I get the chance I'll post how I make 'em :)


Saturday, September 22, 2012

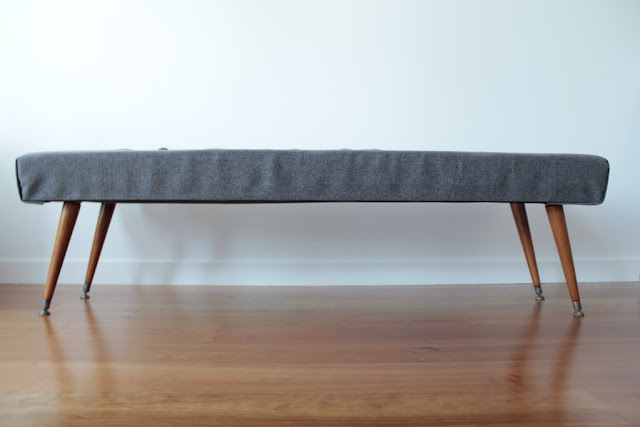
DIY Mid Century Dining Bench

Meet my DIY Mid Century dining bench.

I can't tell you how lucky I am to have a friend like Nancy.  She is uber talented!  About 3 weeks ago, she helped us build a Mid Century style dining bench for my boyfriend's condo.  But I'm not going to go into much detail about it because she actually blogged about it :)


Check out her blog alifedesigned for more info.  I'm telling you now, you are in for a treat.  She is a great blogger and uber creative :)


We are aiming for a Mid Century Modern look.  The place is currently a work in progress but I'll blog about it as soon as we get the major stuff done.  We are still waiting for the sofa, some art work, and also the office area that we are working on at the moment.  So, stay tuned!


Birkenhead Lake Park

Birkenhead Lake is about 3.5 hours away (196km) from Downtown, Vancouver.  It is absolutely one of the most gorgeous parks I've been to in British Columbia.  Just look at the picture below! Isn't it beautiful?  I mean, just look at that view! 
  

Source: ©bigA888
We stayed there for three days on a long weekend holiday, and I wish we stayed for another day because three days just wasn't engouh!  

Anyway, the drive wasn't so bad.  We left Vancouver around 8am and after an hour and a half of driving we arrived in Whistler hungry for breakfast; we grabbed a bite to eat, and stopped by a local grocery store to get few other things ie: insect repellent, drinks, and more mashmallows.. There's no such thing as too many marshmallows when you're going camping, you know?!  But the sad part is we actually ran out of it the following day; 2 bags of marshmallows just wasn't enough for 13 people! And the place is pretty secluded and far from any type of major grocery store so we couldn't really grab more even if we wanted to.

Birkenhead Lake Campgrounds: photo via Alianna
The great thing about this park is the number of activities you could do; fishing, wind surfing, boating, kayaking, canoeing, hiking, swimming, play beach volleball, or just simply lay on the beach while reading your favourite book.  Whatever takes your fancy. :)

Beach Volleyball at Birkenhead Lake © Jeff Yu

That would be me, and from that perspective it looks like I'm about to get hit by the ball. Lucky, it didn't! ;)

Time for smores!
© Jeff Yu


Birkenhead Lake via Alianna with the help of a mobile App.
Meet our Photographer, Jeff Yu.  He did such a great job with the pictures and although I want to share all of it with you, there's just too many. :) 


© Jeff Yu
There's me, cooking. :)


Since Birkenhead Lake is in bear country, it was most convenient for us to be able to park our cars in our campsite.  In bear country, you would NOT want to leave any of your belongings, especially coolers, unattended as they are not bear proof. It is best to lock them in your car.  

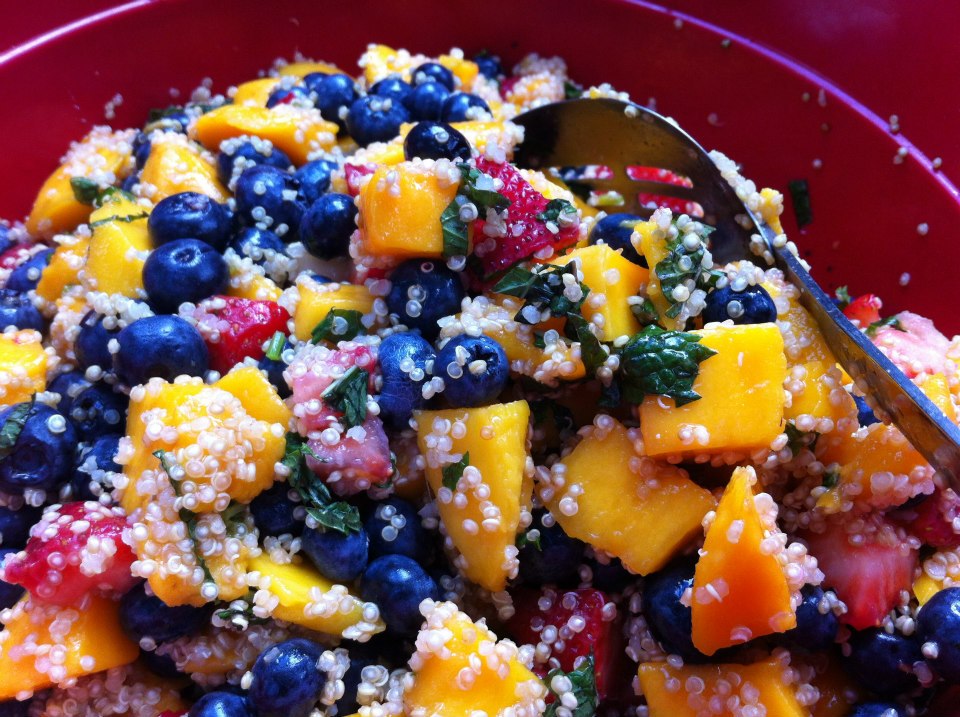
Quinoa Fruit Salad with Honey Lime Dressing, mmm so delicious! Recipe here.


It helps having two hot pot burners, and two mini barbeques to cook with :)


Bon fire and ghost stories!

© Jeff Yu
© Jeff Yu

Because this park is far from towns, if you ever plan to visit, I suggest you check BC Parks for more info.

There is one store not so far away from the area where you can buy firewood, some medicine, bread, and eggs.  But I think it is better to bring more food than you need than to bring just enough, ran out, and end up getting hungry. 

And if ever you go camping, make sure you get one of these.  This did an awesome job in keeping our frozen foods frozen.  I simply put food that needed to be kept cold and frozen inside the bag and then put them in the cooler filled with ice, and voila, instant freezer!  Our food stayed frozen until we needed them:)


I absolutely love this place. Peaceful, relaxing, and not too much people.  I hate going to over crowded parks, for some reason I think it feels less intimate. I'm definitely coming back to this place, but next year, I think I'll try hiking the trails as I was told it is the best way to see the view around Birkenhead Lake.


Thursday, February 16, 2012

Green Tea Cookies, Lesson #1

Note: Finally! Another post! I have been very busy with a cake order for a client but don't fret, I am still here. So let's carry on :)

My first reaction to my creation.

Ooohh! What?! My cookies!! :'(

Is what I asked myself after they came out of the oven. Matcha Cookie Fail #1. It will serve it's purpose though, fear not! You can't learn something without failing at it at least once, is what I always say. Especially when you're trying to create a new recipe, you should always expect to make many mistakes to find that perfect one! Have faith ;)
Some of the ingredients for making Matcha Crinkle Cookies
So anyway, I was so excited about the whole idea thinking that white chocolate and matcha would make a good combination.. Well it turns out to be a little more complicated than that.

I used the Chocolate Crinkle Cookies recipe as a guideline to make these Matcha Crinkle Cookies that I sooo badly wanted. But when you're substituting or adding something in a recipe, the end product would definitely have a different texture and taste, etc. right? Especially since I'm adding Powdered Matcha.
But before I continue, if any of you are new to the world of Matcha and want to know something about it, here is a simple explanation from Matcha Source. For others please feel free to scroll down, but if you want to read that's okay too! :)

What is Matcha Powdered Green Tea?
"Matcha is premium green tea powder from Japan used for drinking as tea or as an ingredient in recipes. While other green teas are grown throughout the world, matcha is unique to Japan. It is the heart of the Japanese way of tea and has been celebrated in the traditional Japanese tea ceremony for hundreds of years."

What does matcha taste like?
"Complex. Alluring. Bitter. Misunderstood. Addicting. That’s how Sophia F., a matcha enthusiast from Florida, describes the taste of matcha. Chlorophyll and amino acids give matcha its unique rich taste, an initial vegetal, astringent taste, followed by a lingering sweetness. Matcha made in the traditional Japanese style, whisked with water, is a full-bodied green tea. The intensity of the experience compares to one’s first taste of dark chocolate or red wine. When added as an ingredient, the taste of matcha becomes subtler. It adds the flavor and color of green tea to your creation, be it a smoothie, latte, savory sauce or pastry.
"

They explained that better than I could ever have. Interesting tid bit isn't it?

So moving on to what I did:

Change #1
-White Chocolate (WC). I used the same amount as the recipe found in most Chocolate Crinkle recipes. Definitely too much for a white chocolate, my gut told me that I should cut it down to just a few chunks but I was too stubborn so I pressed on. The original recipe calls for Semi sweet chocolate, and semi sweet is well, semi sweet and has a little bitterness to it which is why it works best.

Change #2
-Sweet Matcha Powder (SMP). Once again, my gut told me to use the unsweetened one but... I didn't listen. Because Sweet (WC) + Sweet (SMP) + Sugar = Waaay Too Sweet.
Butter, Sweet Matcha Powder, and White Chocolate
So what's lesson #1? Listen to your guts. lol. Don't get me wrong, I love sweet stuff but I had the wrong proportion of ingredients so it came out too sweet for me.

But anyway, before I show you what my cookies turned out like I would like to show you how my Chocolate Crinkle Cookies comes out of the oven. It's a melt in your mouth cookie, and has a soft and velvety texture, especially when it just came out of the oven. My taste buds sing with joy when I bite into one of these babies.
Not much cracks, which is how I want it. Yummy and pretty to look at :)
And now, please welcome... My failed Green Tea Chocolate Crinkle Cookies.
BAM! It doesn't look like good eats to me :(


Too many cracks and they're too flat... But that's probably because I took the batter out of the fridge a little too soon.

Now I have never tried making green tea sugar cookies before. That's also something I could probably look into. Have you ever made green tea cookies before? Do you like them? What was your experience like? Please share your ideas and thoughts, good and bad are both welcome.

Anyway, I guess there's a lot to be done so for now I'll be experimenting a little bit more in the kitchen until I've come up with a recipe that is worthy and we could all enjoy.

Monday, February 13, 2012

Green with Envy.. Teaser

Sweet Matcha Powder and White Chocolate
Tomorrow, I'll be in the kitchen working with these two additional ingredients.  Can you tell what I am going to make?  Check back tomorrow to find out what sort of Om noms I will be sharing with you.  Stay tuned! ;)

Thursday, February 9, 2012

Baking My First Cake

My journey with baking started about a couple of years ago, when some of my free time was spent watching cooking and baking shows on the Food Network Channel.. I have to thank them for inspiring a great deal out of me. There are so many great shows out there like Cake Boss, Lynn Crawford's Pitchin' In, French Food at Home, Ace of Cakes, Bobby Flay's Throw Down, and many more..
Chocolate Cupcakes with Raspberry Buttercream Icing
But enough about my favourite tv shows. My boyfriend's mother also happens to be a baker of really good goodies which motivated me even further. So I baked myself away and started out with cupcakes because I found them to be less intimidating than baking a whole cake at that time.

I made this last year and this was my very first fondant cake. It was a birthday cake for a young and growing Princess! She's actually one of my godsons' sisters; the second oldest of 4 kids. As this was my first ever fondant cake, I under estimated the time it would take for me to make it! So I called out a friend and thankfully she came in to rescue me! Phew! Thanks Agnes!
The princess, wanted a tiara on her cake and so I went online and searched for videos on Youtube that could help me out. I found this amazing tutorial on how to make gumpaste tiaras. Hers however, look really amazing and mine was.. well, not nearly as good as hers but it'll do.


I am so glad that the birthday girl liked it though!


Anyway, for the next few days I will be backtracking and posting some of my previous works. But I'll be posting some of the new things that I am also working on in between. So stay tuned!


With lots of love,
May

Tuesday, February 7, 2012

A Dr. Seuss Birthday Celebration


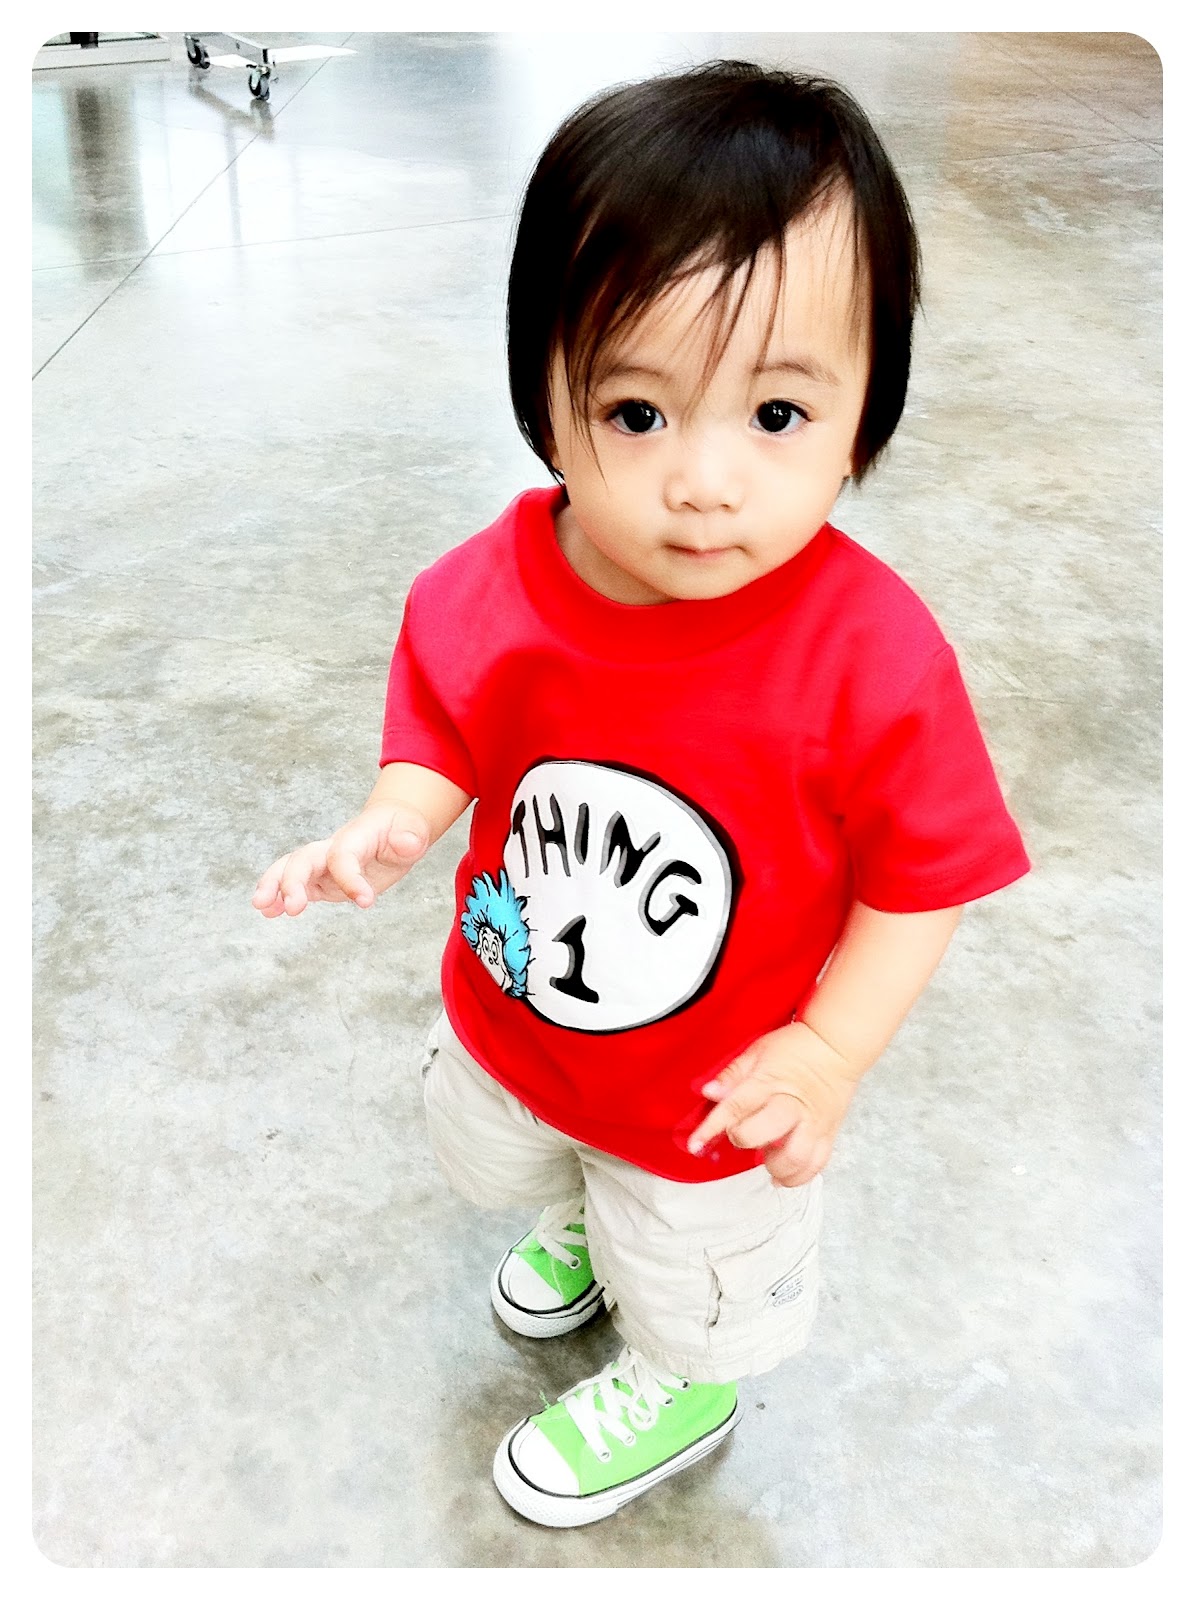
This project is a special one because it was for my twin-god son's birthday celebration.  My friend (who is my bf's sister-in-law), asked me if I could help her plan the celebration.  And who could resist?  I knew this was going to be extra fun because the first thing that popped into my head was Dr. Seuss!  Thing1 and Thing 2.  Awesome.

We had about 2 months to plan for it and one of the very first thing I did was design the invitation.  I browsed the internet for some of the wordings, and added my own into it.  I don't really know which application to use for the invitation so I ended up using Paint.  That is were I spent a long time trimming the Cat In The Hat.  I'm sure you could do that in Photoshop or something, but since I don't have that.. I decided to use paint and saved the image as PNG so it could retain it's actual colours.
It's a Red and Blue Party!
I simply used cardstock to print the invatations and voila!  That's what we got.  Cute and simple.  I printed the names separately on Excel, cut them out, and pasted each one on the invitations.

Next on my project was to buy the treats that would go on the Candy Party Favour Station.  We (my bf and I) headed to Seattle where we could score awesome deals.  We got those amazing Dr. Seuss items at Target, all for a dollar each and used them as prizes for the games. 
The next thing I did was bought tissues for the flower pom poms, that I wanted to use for decorations.   If you want to know how to make them, check this how-to video here.  I went to Deserres to buy my tissue paper and lucky me they were on clearance!  80pcs/set of sheets for less than $2.00, and I got about (I think) 3 sets each of red and blue tissue paper, and I remeber having way more than what I needed.   We decided to use the left over tissues for the table that didn't have a cover.
I really wanted a set of balloons on each of the tables.  And after doing a lot of research, we placed our order at Ballonatics DesignsOn the day of the party, they arrive at the venue earlier than we expected, AND gave us 2 sets of balloons at no additional charge!  I absolutely loved them!  I love the look of them hovering over the tables.. Don't you? :)

As for the table cloths we got a couple of them at the Dollar Store, I was a little bit disappointed with the colour so I headed out and bought some at the The Party Bazaar on Terminal and Main St.  These were much better, so I got one for each table (10).
I got the idea of this framed message on Hostess with the Mostess.
I thought it was a brilliant idea so I went ahead and printed it on a piece of paper and framed it on one of the picture frames that we already have!  Check out their awesome website for great inspirations!  Anyway, we had this set up by the entrance of the venue where visitors could sign and write their wishes for the birthday boys.  


The games we used include: Find the Green Egg (similar to the Easter Egg Hunt), Find the Cat In The Hat, where we cut up a small picture of the CITH and pinned it at the back of one of the adult guests for the kids to find. And then Pass the Fish Bowl, sort of like when Thing 1 and Thing 2 were throwing the fish bowl at each other on the first (I think) tv episode of The Cat In The Hat.

By the end of the day everyone, especially the kids had a ton of fun.  Who wouldn't have fun with a Dr. Seuss themed party anyway?  And once again, thanks to every one who pitched in on this party, especially the twins' awesome parents!  I swear, I have the most awesome-est (if that's even a word) friends and family ever. Love them all. =)

Related Posts Plugin for WordPress, Blogger...